Source Code
<section class="tbh-hero">
  <div class="tbh-inner">
    <div class="tbh-terminal">
      <div class="tbh-titlebar">
        <span class="tbh-dot tbh-red"></span><span class="tbh-dot tbh-yellow"></span><span class="tbh-dot tbh-green"></span>
        <span class="tbh-titlebar-label">deploy@edge:~</span>
      </div>
      <div class="tbh-body" id="tbhBody">
        <div class="tbh-log" id="tbhLog"></div>
        <span class="tbh-cursor" id="tbhCursor">▍</span>
      </div>
    </div>

    <div class="tbh-reveal" id="tbhReveal">
      <h1 class="tbh-title">Deploy in seconds. <span>Scale without thinking.</span></h1>
      <p class="tbh-sub">Push to main, and the edge network handles the rest — builds, routing, rollback, all automatic.</p>
      <div class="tbh-cta-row">
        <a href="#" class="tbh-btn-primary">Get started free</a>
        <a href="#" class="tbh-btn-secondary">Read the docs</a>
      </div>
    </div>
  </div>
</section>
* { box-sizing: border-box; margin: 0; padding: 0; }
body { font-family: system-ui, -apple-system, sans-serif; background: #05070c; }
.tbh-hero { min-height: 100vh; display: flex; align-items: center; justify-content: center; padding: 48px 24px; }
.tbh-inner { width: 100%; max-width: 640px; }
.tbh-terminal { background: #0d1117; border-radius: 12px; overflow: hidden; box-shadow: 0 20px 60px rgba(0,0,0,0.5); border: 1px solid rgba(255,255,255,0.08); }
.tbh-titlebar { display: flex; align-items: center; gap: 7px; padding: 11px 14px; background: #161b22; border-bottom: 1px solid rgba(255,255,255,0.06); }
.tbh-dot { width: 11px; height: 11px; border-radius: 50%; }
.tbh-red { background: #ff5f56; }
.tbh-yellow { background: #ffbd2e; }
.tbh-green { background: #27c93f; }
.tbh-titlebar-label { margin-left: 8px; font-family: 'SF Mono', Consolas, Menlo, monospace; font-size: 12px; color: #6b7280; }
.tbh-body { padding: 20px 22px; min-height: 168px; font-family: 'SF Mono', Consolas, Menlo, monospace; font-size: 13.5px; line-height: 1.85; }
.tbh-log { color: #94a3b8; white-space: pre-wrap; }
.tbh-log .tbh-ok { color: #4ade80; }
.tbh-log .tbh-line { display: block; }
.tbh-cursor { display: inline-block; color: #4ade80; animation: tbhBlink 0.9s step-end infinite; }
.tbh-cursor.done { display: none; }
@keyframes tbhBlink { 50% { opacity: 0; } }
.tbh-reveal { margin-top: 28px; text-align: center; opacity: 0; transform: translateY(10px); transition: opacity .5s ease, transform .5s ease; }
.tbh-reveal.show { opacity: 1; transform: translateY(0); }
.tbh-title { font-size: 32px; font-weight: 800; line-height: 1.2; letter-spacing: -0.02em; color: #f1f5f9; }
.tbh-title span { color: #4ade80; }
.tbh-sub { margin-top: 14px; font-size: 14.5px; line-height: 1.6; color: #94a3b8; max-width: 460px; margin-left: auto; margin-right: auto; }
.tbh-cta-row { display: flex; gap: 12px; justify-content: center; margin-top: 26px; flex-wrap: wrap; }
.tbh-btn-primary { padding: 12px 22px; background: #4ade80; color: #052e16; border-radius: 9px; text-decoration: none; font-size: 14px; font-weight: 800; transition: background .15s; }
.tbh-btn-primary:hover { background: #86efac; }
.tbh-btn-secondary { padding: 12px 22px; background: transparent; color: #cbd5e1; border: 1.5px solid rgba(255,255,255,0.14); border-radius: 9px; text-decoration: none; font-size: 14px; font-weight: 700; transition: border-color .15s; }
.tbh-btn-secondary:hover { border-color: #4ade80; color: #4ade80; }
@media (max-width: 560px) {
.tbh-title { font-size: 24px; }
.tbh-body { font-size: 12.5px; padding: 16px; }
}const log = document.getElementById('tbhLog');
const cursor = document.getElementById('tbhCursor');
const reveal = document.getElementById('tbhReveal');
// Each boot line, with an optional delay (ms) to pause after it finishes typing
const lines = [
{ text: 'Initializing deploy environment...', pause: 260 },
{ text: 'Connecting to edge servers... OK', ok: true, pause: 220 },
{ text: 'Provisioning build cache... OK', ok: true, pause: 220 },
{ text: 'Running 1,204 tests... 1,204 passed', ok: true, pause: 260 },
{ text: 'Warming 38 edge regions... OK', ok: true, pause: 300 },
{ text: 'Ready.', ok: true, pause: 500 },
];
let lineIndex = 0;
let charIndex = 0;
const TYPE_SPEED = 22; // ms per character — a real char-by-char boot sequence
function typeNextChar() {
if (lineIndex >= lines.length) {
cursor.classList.add('done');
reveal.classList.add('show');
return;
}
const current = lines[lineIndex];
// Start a new <span class="tbh-line"> the first time we type this line
let lineEl = log.querySelector('[data-line="' + lineIndex + '"]');
if (!lineEl) {
lineEl = document.createElement('span');
lineEl.className = 'tbh-line';
lineEl.setAttribute('data-line', String(lineIndex));
log.appendChild(lineEl);
}
if (charIndex < current.text.length) {
lineEl.textContent = current.text.slice(0, charIndex + 1);
if (current.ok) lineEl.classList.add('tbh-ok');
charIndex += 1;
setTimeout(typeNextChar, TYPE_SPEED);
} else {
// Line finished typing — pause, then move to the next line
lineIndex += 1;
charIndex = 0;
setTimeout(typeNextChar, current.pause);
}
}
setTimeout(typeNextChar, 400);Learn Coding Visually
Learn to code with interactive, live-preview playgrounds — HTML, CSS, JavaScript, React & more.
 HTML Playground42 lessons · Click-based · Live preview
 CSS PlaygroundLearn CSS with a live editor
 JavaScript Playground60 lessons · DOM · Async · Canvas
 React PlaygroundLearn React with a live code editor
 GSAP PlaygroundLearn GSAP animation interactively
 SVG Playground44 lessons · shapes · paths · animation
 SCSS Playground45 lessons · Sass modules · tokens
 Tailwind PlaygroundLearn Tailwind CSS with a live editor
 Bootstrap 5 Playground50 lessons · live preview
Hero with Terminal Boot Sequence — Free HTML CSS JS Snippet
Hero with Terminal Boot Sequence · Heroes · Plain HTML, CSS & JS · Live preview
What's included
Features
About this UI Snippet
Hero with Terminal Boot Sequence — A Real Boot Log, Then the Headline
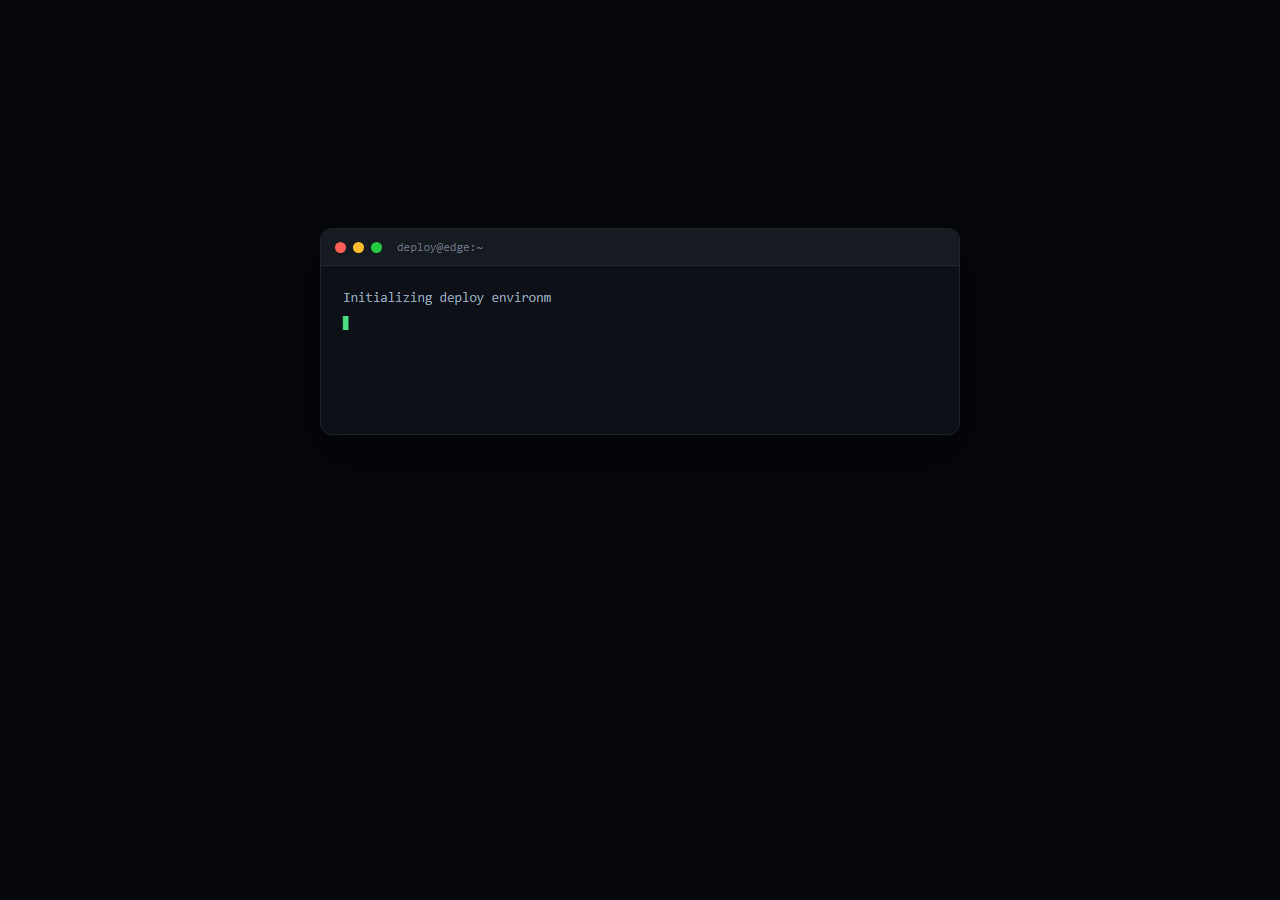
Developer tools earn credibility by looking like tools, not marketing pages. This hero opens with a styled terminal window that plays a genuine character-by-character boot sequence — status lines like "Connecting to edge servers... OK" typing themselves out one letter at a time — and only reveals the headline and CTA once the sequence finishes. It's a status log, not syntax-highlighted code: this is the boot/init pattern, distinct from a typing-code demo.
A real typing engine, driven by two counters
The script tracks lineIndex and charIndex and recursively schedules typeNextChar with setTimeout. Each call either appends one more character to the current line's textContent (advancing charIndex) or, once a line is fully typed, pauses for that line's specific pause duration before moving to the next line (lineIndex += 1, charIndex resets to 0). This is a genuine per-character reveal — inspect the DOM mid-sequence and you'll see the current line's text growing one character at a time, not a CSS steps() animation faking it over static text.
Lines carry their own timing
Each entry in the lines array has its own pause value — shorter after quick status checks, longer after "Running 1,204 tests..." and a full half-second hang on "Ready." before the reveal. This variable pacing is what makes the sequence read as a real boot log with real work happening at different speeds, rather than a uniform typewriter effect ticking through unrelated text at one constant rhythm.
The headline waits for the terminal
.tbh-reveal starts at opacity: 0 with a slight translateY offset and only gets the .show class — triggering a CSS transition to full opacity and position — after typeNextChar runs out of lines. The blinking cursor (a CSS step-end keyframe) disappears at the same moment. This sequencing is the whole point: the visitor watches something real happen before the marketing message appears, instead of the terminal being decorative wallpaper behind a headline that was there all along.
A blinking cursor that behaves correctly
The ▍ cursor blinks continuously via step-end (a hard on/off flicker rather than a smooth fade, matching real terminal cursors) throughout the entire sequence, then gets a .done class that hides it once typing finishes — so it doesn't keep blinking uselessly next to a headline that has nothing to do with a terminal prompt.
Customizing it
Replace the six boot lines and their ok/pause values with status messages relevant to your product. Adjust TYPE_SPEED for a faster or slower type rate. Pair this hero with a terminal window demo elsewhere on the page, or a typing-code snippet if you want syntax-highlighted code typing instead of a status log further down the page.
Build with AI
Build, Understand, Optimize, and Extend It With AI
You don't have to hand-tune the boot sequence's timing by trial and error. Paste this snippet's HTML, CSS, and JS into an AI coding assistant like Claude and ask it to explain how the recursive setTimeout loop tracks a line index and character index to produce a genuine character-by-character reveal, and why giving each boot line its own pause duration makes the sequence read as authentic work happening rather than a uniform typewriter tick. The same assistant can help you extend it — ask it to add a randomized small jitter to the per-character typing speed so it feels slightly less mechanical, or to make a line occasionally "retry" (backspace and retype) to simulate a flaky step. It's also useful for adapting the pattern: ask it to convert the setTimeout-chain into a React useEffect-driven state machine, or to add a skip button that jumps straight to the finished state for visitors who don't want to wait. Treat the code less like a finished artifact and more like a starting point for a conversation.
Prompt to recreate it
Copy this into your AI assistant of choice to build the effect from scratch, or as a jumping-off point for your own variant:
Build a developer-product hero in plain HTML, CSS, and JavaScript that opens with a real character-by-character terminal boot sequence before revealing the headline — no framework, no animation library.

Requirements:
- A styled terminal window: a titlebar with three colored traffic-light dots (red, yellow, green) and a small prompt label, and a monospace-font body area below it where the boot log types out.
- Define an array of boot status lines (for example "Initializing...", "Connecting to servers... OK", "Running tests... passed", "Ready."), where each line has its own pause duration to wait after it finishes typing before the next line starts — the pacing between lines must NOT be uniform; give lines that represent more work a longer pause.
- Implement the typing with a real character-by-character mechanism (a recursive setTimeout loop tracking a current line index and character index, appending one character at a time to the DOM) — do not fake it with a CSS steps() animation over text that's already fully present in the DOM.
- Show a blinking terminal cursor (a hard on/off flicker via a step-end animation timing function, not a smooth fade) next to the actively-typing text throughout the sequence, and hide it once the sequence completes.
- Below the terminal, add a headline, subheading, and two CTA buttons in a container that starts invisible (opacity 0, slightly offset position) and only transitions to fully visible once the entire boot sequence has finished typing every line — the reveal must be genuinely sequenced after the typing completes, not on a fixed timer that's decoupled from the actual typing duration.
- Make it responsive, with the terminal's font size and padding scaling down on narrow screens.
Want to tighten it up first? Run this prompt through the AI Prompt Studio to score it across 8 quality dimensions, catch anti-patterns, and tune the wording for Claude, ChatGPT, or Gemini before you paste it in.
Step by step
How to Use
- 1Paste the HTML, CSS, and JSA terminal window renders empty, then begins typing the first boot line after a short delay.
- 2Watch the sequence playEach line types character by character, pausing by a different amount after each one finishes.
- 3Watch the revealOnce "Ready." finishes typing, the cursor disappears and the headline/CTA fade and slide in below.
- 4Edit the boot linesChange the lines array's text, ok, and pause values to your own status messages.
- 5Adjust the type speedChange the TYPE_SPEED constant (ms per character) to type faster or slower.
- 6Retheme the terminalSwap the green accent and titlebar label for your brand or product name.
Real-world uses
Common Use Cases
Got questions?
Frequently Asked Questions
It's real. A recursive typeNextChar function tracks a line index and character index, and on every call either appends one more character to the current line's textContent or, once a line is done, waits that line's specific pause duration before starting the next one. Inspecting the DOM mid-sequence shows the current line's text genuinely growing character by character — not a fixed-width CSS steps() animation revealing pre-rendered text.
A uniform delay after every line makes the sequence feel like a generic typewriter effect ticking through arbitrary text. Giving faster status checks a short pause and heavier steps (like "Running 1,204 tests...") a longer one makes the timing read as if real work of different durations is actually happening, which is what makes a boot sequence feel authentic rather than decorative.
The typeNextChar function checks whether lineIndex has run past the end of the lines array — once it has, it adds a done class to hide the blinking cursor and a show class to the reveal container, which triggers a CSS opacity/transform transition. The headline is never shown until the boot sequence has genuinely finished typing every line.
A typing-code demo types out syntax-highlighted source code to show what building with the product looks like. This hero types a status/boot log — short, plain status lines like "Connecting to edge servers... OK" — evoking a CLI tool starting up, not a code editor. Pair this hero with typing-code elsewhere on the page if you want both.
Hold lineIndex, charIndex, and a done boolean in state, and drive the sequence with a useEffect (or equivalent) that schedules the next character with setTimeout, mirroring the plain JS logic. Render each line's current substring from state instead of mutating the DOM directly. Bind the reveal container's visibility class to the done flag.