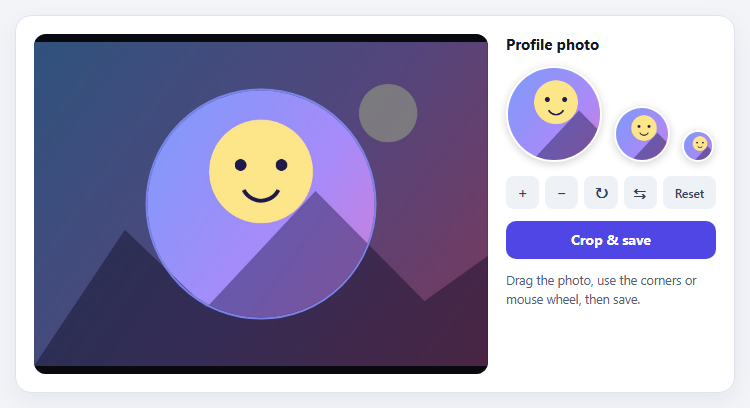
Cropper.js Avatar Crop with Live Circular Preview
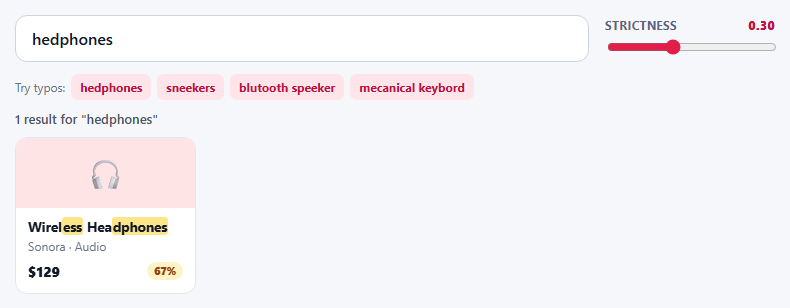
Fuse.js Typo-Tolerant Product Search with Threshold Tuning
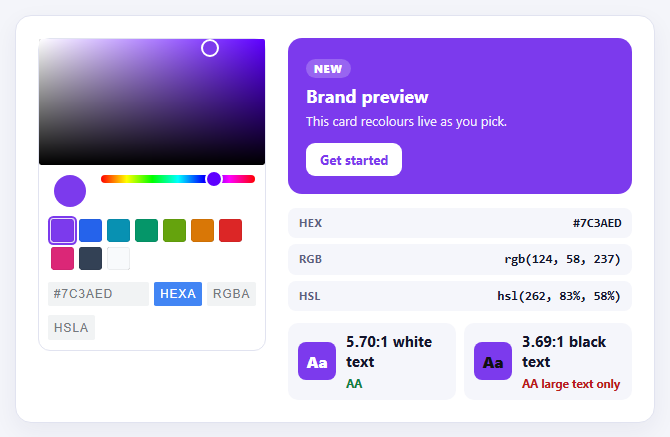
Pickr Inline Color Picker with Swatches and Contrast Check
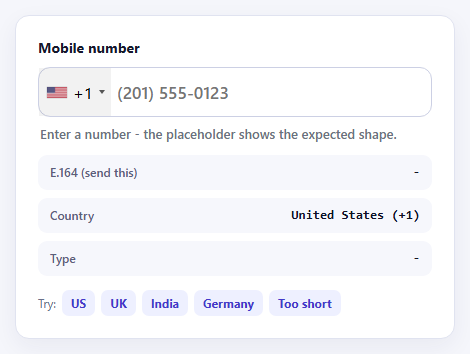
intl-tel-input International Phone Field with Validation
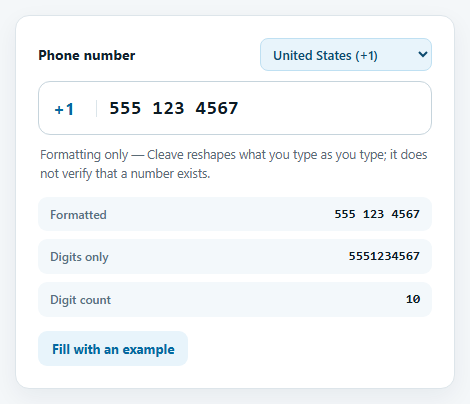
Cleave.js Phone Number Input by Country
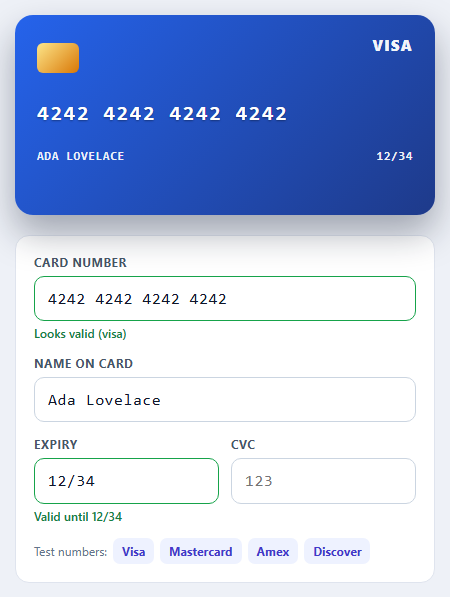
IMask Credit Card Input with Brand Detection
Learn Coding Visually
Learn to code with interactive, live-preview playgrounds — HTML, CSS, JavaScript, React & more.
 HTML Playground42 lessons · Click-based · Live preview
 CSS PlaygroundLearn CSS with a live editor
 JavaScript Playground60 lessons · DOM · Async · Canvas
 React PlaygroundLearn React with a live code editor
 GSAP PlaygroundLearn GSAP animation interactively
 SVG Playground44 lessons · shapes · paths · animation
 SCSS Playground45 lessons · Sass modules · tokens
 Tailwind PlaygroundLearn Tailwind CSS with a live editor
 Bootstrap 5 Playground50 lessons · live preview
Cropper.js Avatar Crop with Preview — Free JS Snippet
Cropper.js Avatar Crop with Live Circular Preview · Forms · Plain HTML, CSS & JS · Live preview
What's included
Features
About this UI Snippet
Cropper.js Avatar Crop with Live Preview — HTML, CSS & JavaScript
Avatar upload is one of the most common image tasks on the web and one of the easiest to get wrong. Users pick a 4000-pixel photo straight off a phone, and the app stores all of it, displays it squashed into a circle with object-fit, and cuts off the face. A cropper fixes that at the source: the user chooses exactly which part of the image becomes their avatar, and you upload a small, correctly framed file instead of the original.
Cropper.js does the geometry. This snippet configures it the way avatar editors behave, which differs from the library's default "resize the box over the photo" mode. dragMode: 'move' makes dragging pan the photo, while cropBoxMovable and cropBoxResizable are off so the crop area stays fixed and centred — the same model as most social apps. viewMode: 1 prevents the photo being dragged so far that the box would show empty space, and aspectRatio: 1 locks the box square. Because the box is square, the round look is applied with a border-radius on Cropper's own view-box and face elements, so what the user sees while editing matches the avatar they will get.
The most useful option is preview. Passing a selector makes Cropper mirror the current crop into every matching element, live, with no extra code. Three sizes — 96, 56 and 32 pixels, matching a profile page, a comment and a compact list — show at once, which is how you catch the mistake of choosing a crop that looks fine large but unreadable small.
The export step has the classic gotcha. getCroppedCanvas() always returns a rectangle; there is no circular option, and the CSS border-radius does not exist in the pixels. To produce a genuinely round image with a transparent background you have to clip a second canvas to a circle and draw the cropped square into it, as the save handler does. Passing width and height to getCroppedCanvas fixes the output at 256 pixels regardless of the source size, with imageSmoothingQuality set to high for a clean downscale. Upload that output, and display size and storage stay small.
Build with AI
Build, Understand, Optimize, and Extend It With AI
Ask an AI assistant like Claude to upload the result with fetch and FormData, add drag-and-drop for choosing a file, or add a zoom slider bound to cropper.zoomTo().
Prompt to recreate it
Copy this into your AI assistant of choice to build the effect from scratch, or as a jumping-off point for your own variant:
Build an avatar cropper with Cropper.js 1.6 loaded from a CDN (script and CSS).

Requirements:
- Use aspectRatio: 1, viewMode: 1, dragMode: 'move', cropBoxMovable: false and cropBoxResizable: false so the photo moves behind a fixed crop area.
- Make the crop box look circular with CSS border-radius on .cropper-view-box and .cropper-face.
- Use the preview option to show live circular previews at 96, 56 and 32 pixels.
- Add zoom in/out, rotate, flip and reset buttons using zoom(), rotate(), scaleX() and reset().
- On save, call getCroppedCanvas({ width: 256, height: 256 }), clip a second canvas to a circle, and export a transparent PNG with its approximate size.
Want to tighten it up first? Run this prompt through the AI Prompt Studio to score it across 8 quality dimensions, catch anti-patterns, and tune the wording for Claude, ChatGPT, or Gemini before you paste it in.
Source Code
<div class="av-wrap">
<div class="av-stage"><img id="avImg" alt="Photo to crop"></div>
<aside class="av-side">
<h3>Profile photo</h3>
<div class="av-previews" aria-label="Live previews">
<div class="av-pv av-lg"></div>
<div class="av-pv av-md"></div>
<div class="av-pv av-sm"></div>
</div>
<div class="av-tools">
<button type="button" data-a="zoomIn" title="Zoom in">+</button>
<button type="button" data-a="zoomOut" title="Zoom out">−</button>
<button type="button" data-a="rotate" title="Rotate 90 degrees">↻</button>
<button type="button" data-a="flip" title="Flip horizontally">⇆</button>
<button type="button" data-a="reset" title="Reset">Reset</button>
</div>
<button type="button" class="av-save" id="avSave">Crop & save</button>
<div class="av-out" id="avOut" aria-live="polite">Drag the photo, use the corners or mouse wheel, then save.</div>
</aside>
</div>body { background: #f2f4f8; padding: 20px; font-family: system-ui, sans-serif; }
.av-wrap { max-width: 720px; margin: 0 auto; display: grid; grid-template-columns: 1fr 210px; gap: 18px; background: #fff; border: 1px solid #dfe4ec; border-radius: 16px; padding: 18px; box-shadow: 0 8px 24px rgba(20,30,60,.06); }
@media (max-width: 620px) { .av-wrap { grid-template-columns: 1fr; } }
.av-stage { height: 340px; background: #101521; border-radius: 12px; overflow: hidden; min-width: 0; }
.av-stage img { display: block; max-width: 100%; }
.av-side h3 { margin: 0 0 12px; font-size: 15px; color: #101828; }
.av-previews { display: flex; align-items: flex-end; gap: 12px; margin-bottom: 14px; }
.av-pv { overflow: hidden; border-radius: 50%; background: #e5e9f0; border: 2px solid #fff; box-shadow: 0 2px 8px rgba(0,0,0,.18); flex: none; }
.av-lg { width: 96px; height: 96px; } .av-md { width: 56px; height: 56px; } .av-sm { width: 32px; height: 32px; }
.av-tools { display: flex; gap: 6px; margin-bottom: 12px; }
.av-tools button { flex: 1; font: 600 15px/1 system-ui, sans-serif; color: #334155; background: #eef1f6; border: 0; border-radius: 8px; padding: 9px 0; cursor: pointer; }
.av-tools button:hover { background: #e0e5ee; }
.av-tools button[data-a="reset"] { font-size: 12px; flex: 1.6; }
.av-save { width: 100%; font: 700 14px/1 system-ui, sans-serif; color: #fff; background: #4f46e5; border: 0; border-radius: 10px; padding: 12px; cursor: pointer; }
.av-save:hover { background: #4338ca; }
.av-out { margin-top: 12px; font-size: 12.5px; line-height: 1.5; color: #566074; }
.av-out img { display: block; width: 72px; height: 72px; border-radius: 50%; margin-bottom: 8px; border: 2px solid #e5e9f0; }
/* Round the crop box so the editor matches the avatar the user will actually get. */
.av-stage .cropper-view-box, .av-stage .cropper-face { border-radius: 50%; }
.av-stage .cropper-view-box { outline: 2px solid #818cf8; outline-color: rgba(129,140,248,.9); }// Build a sample photo on a canvas so the demo needs no image files.
function makePhoto(w, h) {
const c = document.createElement('canvas'); c.width = w; c.height = h;
const x = c.getContext('2d');
const g = x.createLinearGradient(0, 0, w, h);
g.addColorStop(0, '#60a5fa'); g.addColorStop(0.55, '#a78bfa'); g.addColorStop(1, '#f472b6');
x.fillStyle = g; x.fillRect(0, 0, w, h);
x.fillStyle = 'rgba(255,255,255,.9)'; x.beginPath(); x.arc(w * 0.78, h * 0.22, h * 0.09, 0, 7); x.fill();
x.fillStyle = 'rgba(30,27,75,.45)';
x.beginPath(); x.moveTo(0, h); x.lineTo(w * 0.2, h * 0.58); x.lineTo(w * 0.38, h * 0.82); x.lineTo(w * 0.62, h * 0.46); x.lineTo(w * 0.86, h * 0.8); x.lineTo(w, h * 0.66); x.lineTo(w, h); x.fill();
// a simple "face" so the crop has an obvious subject
x.fillStyle = '#fde68a'; x.beginPath(); x.arc(w * 0.5, h * 0.4, h * 0.16, 0, 7); x.fill();
x.fillStyle = '#1e1b4b'; x.beginPath(); x.arc(w * 0.455, h * 0.38, h * 0.018, 0, 7); x.arc(w * 0.545, h * 0.38, h * 0.018, 0, 7); x.fill();
x.strokeStyle = '#1e1b4b'; x.lineWidth = h * 0.012; x.beginPath(); x.arc(w * 0.5, h * 0.43, h * 0.06, 0.15 * Math.PI, 0.85 * Math.PI); x.stroke();
return c.toDataURL('image/jpeg', 0.9);
}
const img = document.getElementById('avImg');
img.src = makePhoto(1400, 1000);
let flipX = 1;
const cropper = new Cropper(img, {
aspectRatio: 1, // square crop, shown round via CSS
viewMode: 1, // keep the crop box inside the image
dragMode: 'move', // drag pans the photo (the box stays put) - the avatar-editor feel
autoCropArea: 0.7,
cropBoxMovable: false,
cropBoxResizable: false, // fixed box + a movable, zoomable photo behind it
toggleDragModeOnDblclick: false,
guides: false,
center: false,
highlight: false,
background: false,
preview: '.av-pv', // Cropper mirrors the crop into every .av-pv element live
minCropBoxWidth: 120,
});
document.querySelector('.av-tools').addEventListener('click', function (e) {
const a = e.target.closest('button') && e.target.closest('button').dataset.a;
if (!a) return;
if (a === 'zoomIn') cropper.zoom(0.1);
else if (a === 'zoomOut') cropper.zoom(-0.1);
else if (a === 'rotate') cropper.rotate(90);
else if (a === 'flip') { flipX = -flipX; cropper.scaleX(flipX); }
else if (a === 'reset') { flipX = 1; cropper.reset(); }
});
document.getElementById('avSave').addEventListener('click', function () {
// Crop at a fixed 256px output regardless of how large the source photo is.
const square = cropper.getCroppedCanvas({ width: 256, height: 256, imageSmoothingQuality: 'high' });
if (!square) return;
// getCroppedCanvas is always rectangular - the circle is applied here, giving a transparent PNG.
const round = document.createElement('canvas'); round.width = round.height = 256;
const ctx = round.getContext('2d');
ctx.beginPath(); ctx.arc(128, 128, 128, 0, Math.PI * 2); ctx.closePath(); ctx.clip();
ctx.drawImage(square, 0, 0);
const url = round.toDataURL('image/png');
const kb = Math.round(url.length * 0.75 / 1024);
document.getElementById('avOut').innerHTML = '<img alt="Saved avatar" src="' + url + '">Saved 256 × 256 PNG (~' + kb + ' KB). Upload this, not the original.';
});Step by step
How to Use
- 1Drag the photoDrag the image behind the circle to position the face. The crop area itself stays fixed.
- 2Zoom and rotateUse the mouse wheel or the + and − buttons to zoom, the rotate button for quarter turns, and flip to mirror.
- 3Watch the previewsThe three circles update live at 96, 56 and 32 pixels as you move the photo.
- 4Save the cropPress Crop & save to produce a 256 × 256 circular PNG and see its approximate size.
- 5ResetPress Reset to restore the original position, zoom and orientation.
Real-world uses
Common Use Cases
Got questions?
Frequently Asked Questions
No, it always returns a rectangle. Draw it into a second canvas with a circular clip path to get a truly round, transparent image.
Set dragMode: "move" and disable cropBoxMovable and cropBoxResizable.
Pass a selector to the preview option. Cropper renders the current crop into every matching element automatically.
Pass width and height to getCroppedCanvas. The result is scaled to that size regardless of the source image resolution.
It restricts the crop box to the canvas so the user cannot select an area outside the image.
Cropping in the browser saves upload bandwidth. Still validate and re-process the image server-side, as client output can be altered.
Yes. Use the JSX, Vue, Angular or Tailwind export buttons on this page to convert the markup and styles. The behaviour comes from Cropper.js, so in a framework project install it with npm install cropperjs instead of the CDN tag, create it in useEffect / onMounted / ngAfterViewInit once the image has loaded, and release it with destroy() when the component unmounts.