Source Code
<canvas id="canvas"></canvas>
<div class="content">
  <h1>Interactive Particles</h1>
  <p>Move your mouse to repel the particles</p>
</div>
* { box-sizing: border-box; margin: 0; padding: 0; }
body { background: #050810; overflow: hidden; }
canvas { position: fixed; inset: 0; }
.content {
position: fixed; inset: 0;
display: flex; flex-direction: column;
align-items: center; justify-content: center;
text-align: center; pointer-events: none;
gap: 12px;
}
h1 { font-size: clamp(24px, 5vw, 48px); font-weight: 800; color: #f1f5f9; letter-spacing: -0.5px; }
p { font-size: 14px; color: #334155; font-family: system-ui, sans-serif; }const canvas = document.getElementById('canvas');
const ctx = canvas.getContext('2d');
let W, H, particles = [], mouse = { x: -999, y: -999 };
function resize() {
W = canvas.width = window.innerWidth;
H = canvas.height = window.innerHeight;
}
function Particle() {
this.reset = function() {
this.x = Math.random() * W;
this.y = Math.random() * H;
this.vx = (Math.random() - 0.5) * 0.4;
this.vy = (Math.random() - 0.5) * 0.4;
this.r = Math.random() * 2 + 0.5;
this.alpha = Math.random() * 0.5 + 0.2;
this.color = ['#6366f1','#8b5cf6','#ec4899','#0ea5e9','#10b981'][Math.floor(Math.random()*5)];
};
this.reset();
}
function init() {
resize();
particles = Array.from({ length: 120 }, () => new Particle());
}
function draw() {
ctx.clearRect(0, 0, W, H);
particles.forEach(p => {
const dx = p.x - mouse.x, dy = p.y - mouse.y;
const dist = Math.sqrt(dx*dx + dy*dy);
if (dist < 100) {
const force = (100 - dist) / 100 * 2;
p.vx += (dx / dist) * force * 0.3;
p.vy += (dy / dist) * force * 0.3;
}
p.vx *= 0.97; p.vy *= 0.97;
p.x += p.vx; p.y += p.vy;
if (p.x < 0) p.x = W; if (p.x > W) p.x = 0;
if (p.y < 0) p.y = H; if (p.y > H) p.y = 0;
ctx.beginPath();
ctx.arc(p.x, p.y, p.r, 0, Math.PI * 2);
ctx.fillStyle = p.color;
ctx.globalAlpha = p.alpha;
ctx.fill();
});
// Draw connections
ctx.globalAlpha = 1;
for (let i = 0; i < particles.length; i++) {
for (let j = i + 1; j < particles.length; j++) {
const dx = particles[i].x - particles[j].x;
const dy = particles[i].y - particles[j].y;
const d = Math.sqrt(dx*dx + dy*dy);
if (d < 80) {
ctx.beginPath();
ctx.moveTo(particles[i].x, particles[i].y);
ctx.lineTo(particles[j].x, particles[j].y);
ctx.strokeStyle = `rgba(99,102,241,${(1 - d/80) * 0.15})`;
ctx.lineWidth = 0.5;
ctx.stroke();
}
}
}
requestAnimationFrame(draw);
}
window.addEventListener('resize', resize);
document.addEventListener('mousemove', e => { mouse.x = e.clientX; mouse.y = e.clientY; });
init(); draw();Learn Coding Visually
Learn to code with interactive, live-preview playgrounds — HTML, CSS, JavaScript, React & more.
 HTML Playground42 lessons · Click-based · Live preview
 CSS PlaygroundLearn CSS with a live editor
 JavaScript Playground60 lessons · DOM · Async · Canvas
 React PlaygroundLearn React with a live code editor
 GSAP PlaygroundLearn GSAP animation interactively
 SVG Playground44 lessons · shapes · paths · animation
 SCSS Playground45 lessons · Sass modules · tokens
 Tailwind PlaygroundLearn Tailwind CSS with a live editor
 Bootstrap 5 Playground50 lessons · live preview
Floating Particles — Free HTML CSS JS Canvas Snippet
Floating Particles · Animations · Plain HTML, CSS & JS · Live preview
What's included
Features
About this UI Snippet
Floating Particles — Canvas Repel Force, Connection Lines & rAF Loop
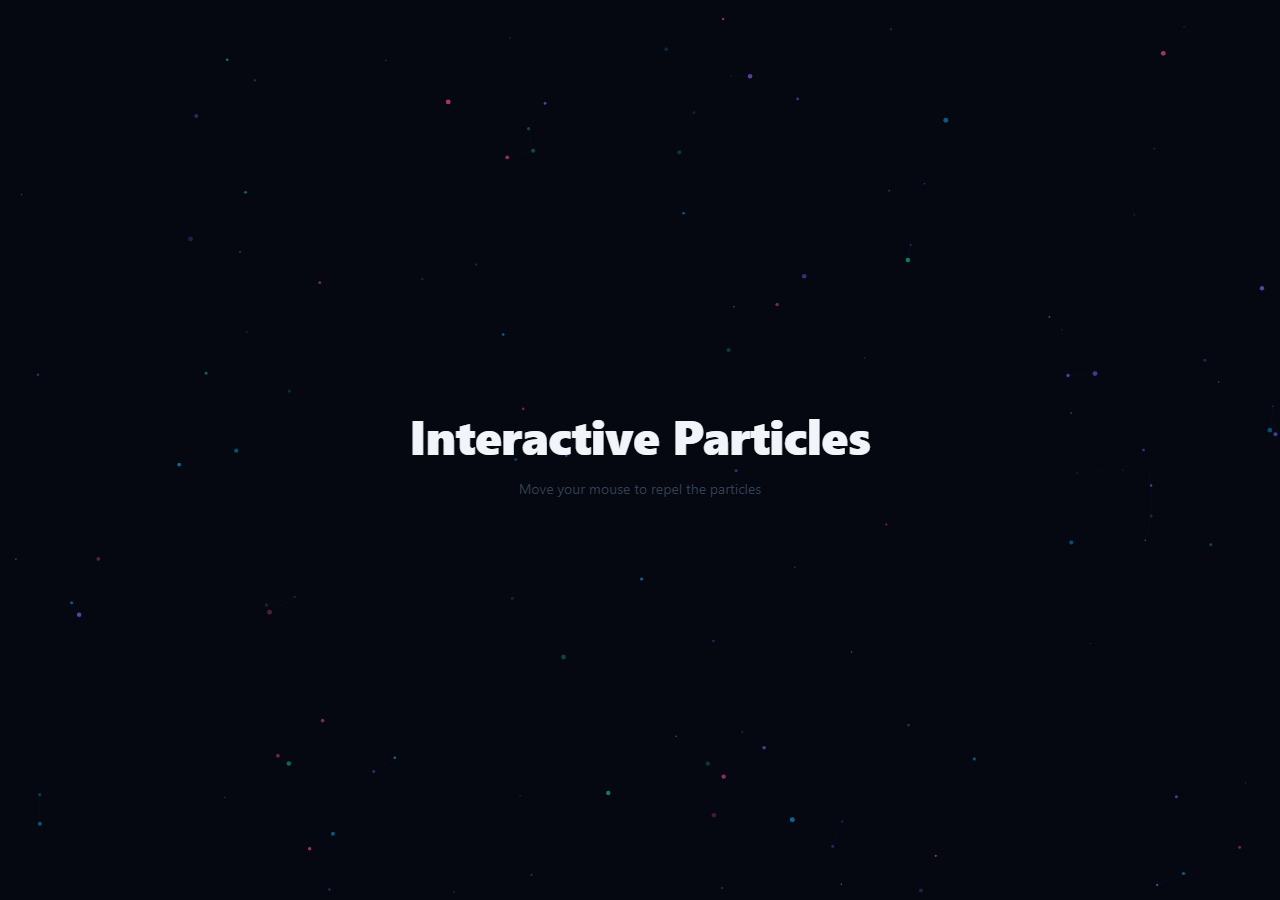
A floating particles canvas creates an ambient animated background with particles that drift, connect with lines when close, and flee from the cursor. Used on dark tech landing pages, AI product pages, and creative portfolios — see also the aurora background and gradient mesh hero.
The particle system
Each particle has x, y (position) and vx, vy (velocity). On each frame velocity is applied to position. Particles bounce off canvas edges by reversing velocity. When distance to mouse is less than 100px, a repulsion force pushes the particle away.
Connection lines
All particle pairs within 120px are connected with a line. Line alpha = 1 - dist/120 — closer particles have more opaque lines, creating a natural web.
Responsive canvas
A resize event listener resets canvas dimensions and reinitialises particles, preventing off-screen accumulation after window resize.
The mouse repel force
Each frame, every particle checks its distance to the mouse. If within a repel radius (default 100px), a force vector is computed: dx = particle.x - mouse.x; dy = particle.y - mouse.y; dist = Math.hypot(dx, dy). A repel acceleration is applied: particle.vx += (dx / dist) * force. The force is inversely proportional to distance — particles close to the mouse are pushed harder. This creates an organic "scattering" effect as the cursor moves through the field.
Connection lines
After updating all particle positions, a second pass draws lines between particles within 120px of each other. The line opacity is alpha = (1 - dist/MAX_DIST) * 0.4 — close particles get a visible line; far ones fade to invisible. This creates the characteristic network-graph appearance.
Boundary wrapping
When a particle drifts off the canvas edge, it reappears on the opposite side — x < 0 becomes x = canvas.width. This keeps the particle count stable without complex respawning logic.
Performance
With 80 particles, the O(n²) connection check performs 6,400 distance calculations per frame. For more particles, optimise with a spatial grid: divide the canvas into cells and only check particles in adjacent cells. For 80–120 particles on modern hardware, the naive approach runs at 60fps.
Configuring the particle system
Change PARTICLE_COUNT to adjust density (60–120 is a good range). Increase REPEL_RADIUS for a larger mouse influence zone. Reduce CONNECT_DIST to show fewer connection lines. Change particle speed by adjusting the initial velocity range. All configuration constants are defined at the top of the script for easy customisation without reading through the animation loop code.
Build with AI
Build, Understand, Optimize, and Extend It With AI
You don't have to work out the O(n squared) connection check by hand. Paste this snippet's HTML, CSS, and JS into an AI coding assistant like Claude and ask it to explain exactly why the nested for loop over particle pairs starts its inner index at i+1 instead of 0, and why the line opacity formula 1 minus dist over 80 makes farther pairs fade rather than just cutting off abruptly. The same assistant can help optimize it — ask whether a spatial grid or quadtree would meaningfully reduce the per-frame distance checks once particle count grows past a few hundred, or whether the repel-force calculation could skip the square root for particles clearly outside the repel radius. It's also useful for extending the effect: have it add click-to-burst particle spawning at the click position, particle color that shifts based on velocity, or a visibilitychange listener that pauses the requestAnimationFrame loop when the tab isn't visible. Treat the code less like a finished artifact and more like a starting point for a conversation.
Prompt to recreate it
Copy this into your AI assistant of choice to build the effect from scratch, or as a jumping-off point for your own variant:
Build an interactive "floating particles" canvas background in plain HTML, CSS, and JavaScript using only the Canvas 2D API and requestAnimationFrame — no libraries.

Requirements:
- A full-viewport canvas resized from window.innerWidth/innerHeight on load and on the window resize event, with content (a heading and subtext) layered on top via pointer-events: none so clicks and hover pass through to the canvas underneath.
- Roughly 100-120 particle objects, each with its own position, velocity, radius, alpha, and a color picked randomly from a small palette on creation.
- Track the live mouse position via a document-level mousemove listener, defaulting to an off-screen value so no repulsion happens before the first mouse move.
- Every animation frame, for each particle: compute its distance to the current mouse position, and if that distance is under a repel radius, add an outward force to its velocity proportional to how close the mouse is (closer means a stronger push); then apply light velocity damping (multiply both velocity components by a factor just under 1) before moving the particle by its velocity.
- Particles must wrap around the canvas edges (reappearing on the opposite side) rather than bouncing or being destroyed when they drift off-screen.
- After moving and drawing every particle as a small filled circle at its own alpha, do a second pass checking every unique pair of particles (not double-counting pairs) and draw a thin line between any pair closer than a connection-distance threshold, with the line's opacity scaled by how close the pair is so nearby connections are more visible than distant ones.
- Keep the particle count, repel radius, and connection distance as named constants near the top of the script so they're easy to retune.
Want to tighten it up first? Run this prompt through the AI Prompt Studio to score it across 8 quality dimensions, catch anti-patterns, and tune the wording for Claude, ChatGPT, or Gemini before you paste it in.
Step by step
How to Use
- 1Move the cursorMove the cursor in the preview to see particles flee from the cursor. Connection lines appear between nearby particles.
- 2Change particle countIn the JS panel, update const COUNT = 80 to increase or decrease particle density.
- 3Change repel radiusUpdate the 100 in the distance < 100 repel check for a larger or smaller repel zone.
- 4Change connection distanceUpdate the 120 in the connection line check. Larger values create denser webs; smaller values create sparser connections.
- 5Change particle colourUpdate ctx.fillStyle and ctx.strokeStyle in the draw functions.
- 6Export in your formatClick "HTML" for a standalone file, "JSX" for a React component, or "Tailwind" for a React + Tailwind version.
Real-world uses
Common Use Cases
Got questions?
Frequently Asked Questions
Each frame, for every particle, the distance from particle to mouse is calculated. If dist < repelRadius (100px), a repulsion force is computed: force = repelStrength / dist. This force is added to vx and vy in the direction away from the mouse. Closer particles receive stronger repulsion because force is inversely proportional to distance.
For every pair of particles (nested loop), the distance is calculated. If dist < connectDist (120px), a line is drawn between them via ctx.beginPath(), ctx.moveTo(), ctx.lineTo(). The line globalAlpha is set to 1 - dist/connectDist — lines between closer particles are more opaque, creating a natural web density.
Update the COUNT constant for density (80 is default; 40 on mobile for performance). Update the velocity initialisation range: this.vx = (Math.random() - 0.5) * 1.5 — the multiplier (1.5) controls max speed. Higher values create faster, more energetic particles.
Reduce COUNT, increase the minimum connection distance (fewer lines drawn), and use a devicePixelRatio check to avoid rendering on high-DPI screens at double resolution. Add visibility change detection to pause the animation when the tab is not visible: document.addEventListener("visibilitychange", () => { if(document.hidden) cancelAnimationFrame(rafId); else startLoop(); })
Assign a colour to each particle on creation: this.color = colors[Math.floor(Math.random() * colors.length)]. Use ctx.fillStyle = particle.color before drawing. For connection lines, blend the two particle colours: ctx.strokeStyle = "rgba(r,g,b," + alpha + ")" where r,g,b are averaged from the two particle colours.
Yes. Use useRef on the canvas element and useEffect to initialise and start the animation loop. Store particles in a useRef array to avoid triggering re-renders on every frame. Clean up the rAF handle and mousemove/resize listeners in the useEffect return function: return () => { cancelAnimationFrame(rafId); window.removeEventListener(...) }